How To Create a Commercial Payor Plan
A Payor Plan in Epitomax is a special type of Organization, so the first step is to make sure the required Organization(s) exists in Epitomax. Some payors contract out to other organizations to process their claims, handle their authorizations, etc. so you may need to create multiple Organizations for a single Payor Plan. Each Group# should be a separate Payor Plan in Epitomax in most cases.
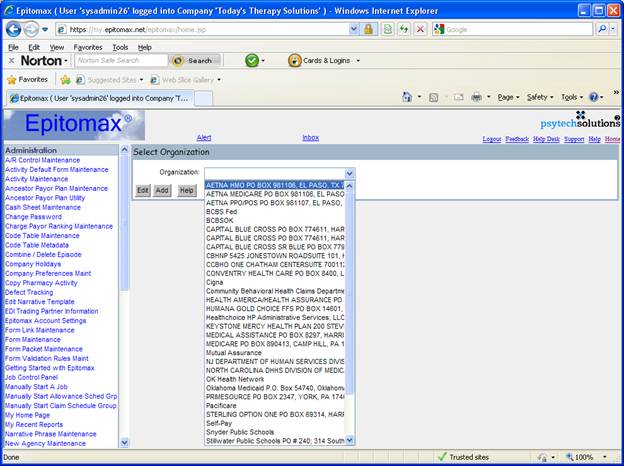
1) Under the Administration menu, choose Organization Maintenance.
2) If the Organization you want is in the drop-down list (or picklist), choose the Organization and click on the Edit button. If not, click on the Add button.
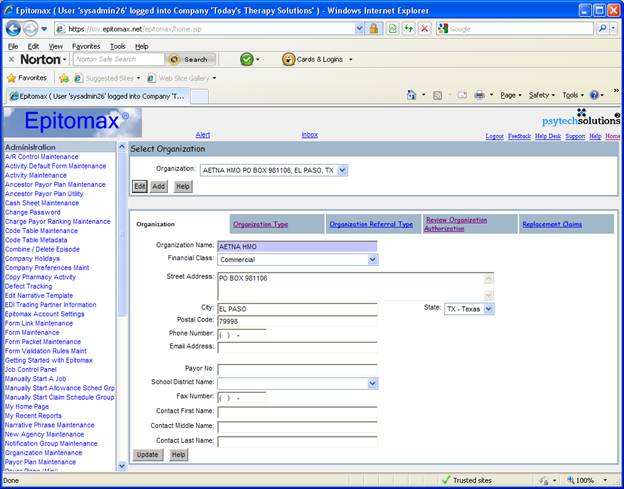
3) Enter the Organization demographics and click on the Update button.
4) Go to the Organization Type tab.
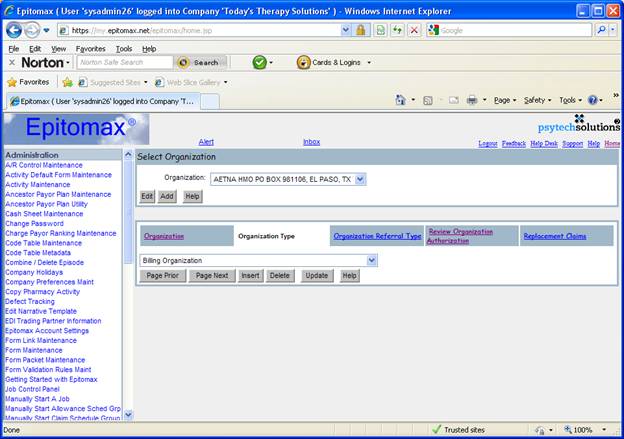
5) Each Organization can be multiple Organization Types, and each Organization Type you enter makes the Organization available on different screens in different drop-downs and picklists in Epitomax.
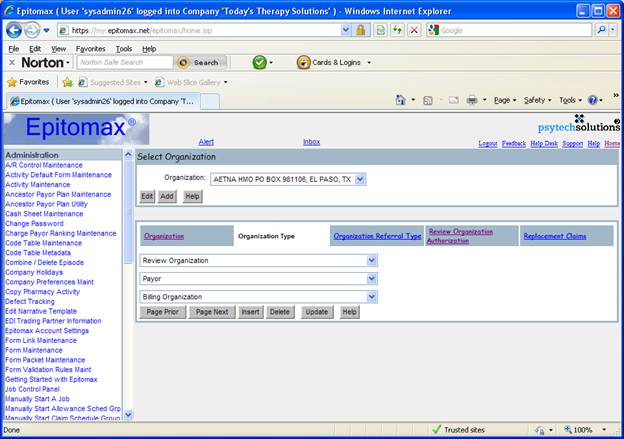
6) Since the Organization is a Payor, you should click on the Insert button and add the Payor Organization Type. Click on the Update button. If the same Organization handles claims processing and issues authorizations, add Billing Organization and Review Organization Types as well. You can add other Organization Types that may also apply.
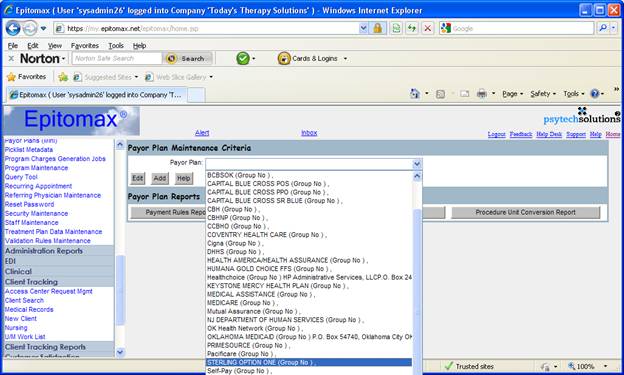
7) You are now ready to create the Payor Plan. On the Administration menu, go into Payor Plan Maintenance.
8) Make sure the Payor Plan does not already exist before creating a new one. Check the Payor Plan drop-down or picklist field for your payor name and possible alternate spellings to verify that you will not be creating a duplicate Payor Plan. The system cannot validate this for you.
9) Click on the Add button to add a new Payor Plan for your insurance plan.

10) Choose ‘Commercial Insurance’ from the Ancestor Payor Plan drop-down list and click on the Ok button. (Other Ancestor Payor Plans may also work. Ancestor Payor Plans should contain common business rules for the Payor Plans that inherit from them, so utilizing a good strategic approach can minimize the amount of maintenance required.)
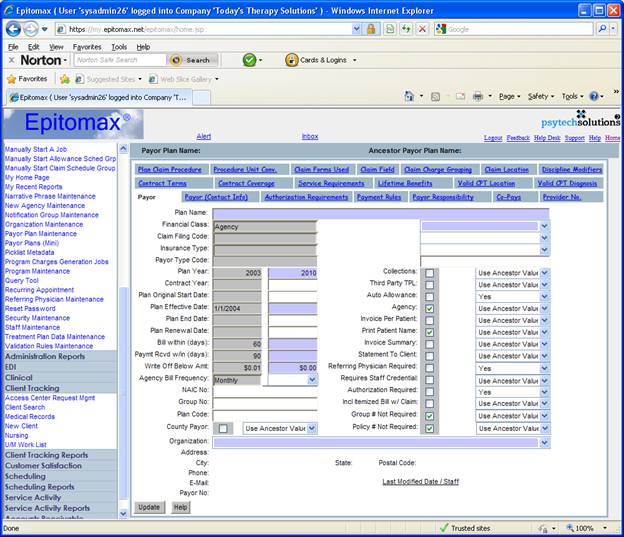
11) Enter the Plan Name as the name of the payor plan. Choose the payor organization from the Organization drop-down list. Click on the Update button to create the Payor Plan.
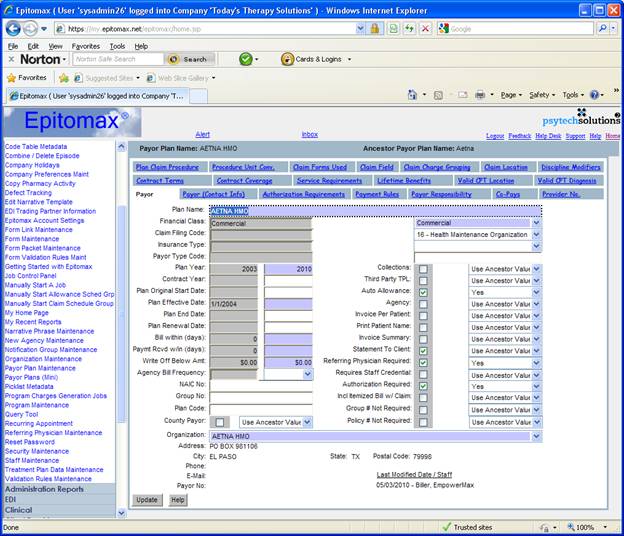
12) The following fields on your Payor tab will allow you to configure how the system deals with the Payor Plan. These values are inherited from the Ancestor Payor Plan unless you override them on the Payor Plan.
a. Auto Allowance – if ‘No’ the system will not attempt to create contractual allowances.
b. Statement To Client – if ‘No’ the Patient Statements function will not generate a Self-Pay statement for any client that has this payor.
c. Referring Physician Required – if ‘Yes’ a Pending Charge Error will be flagged if there is no Referring Physician entered on the Referral Source tab on the client admission.
d. Authorization Required – if ‘No’, the system will not flag an error when charges are not authorized for this payor. If ‘Yes’, there are additional rules that can be entered on the Authorization Requirements tab.
e. Incl Itemized Bill w/ Claim – if ‘Yes’, a Patient Statement Register is generated by the system when a paper claim is generated.
f. Group # Not Required – if ‘Yes’, no error is flagged when the Group No field is empty in the subscriber information.
g. Policy # Not Required – if ‘Yes’, no error is flagged when the Policy No field is empty in the subscriber information.
13) Click on the Payor (Contact Info) tab.
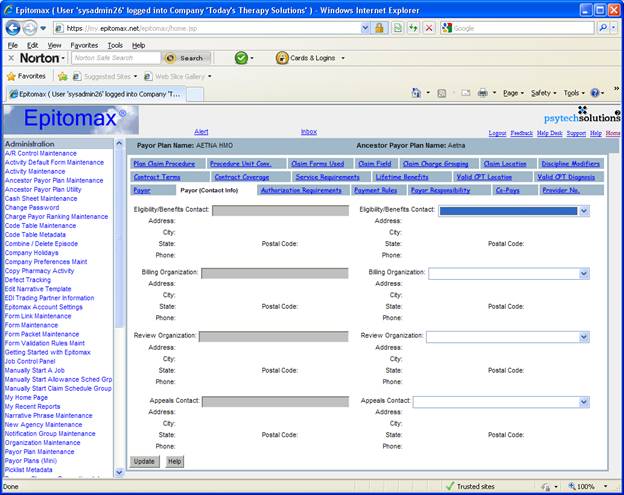
14) For the Billing Organization, enter the organization where claims are to be sent. This is also the organization that sends remittance to you. For the Review Organization, enter the organization that issue authorizations to you.

15) If the payor requires authorizations for anything, click on the Authorization Requirements tab.

16) If any particular Type Of Care and/or Program does not require an authorization, click on the Edit link next to the Type Of Care listed and make the change.
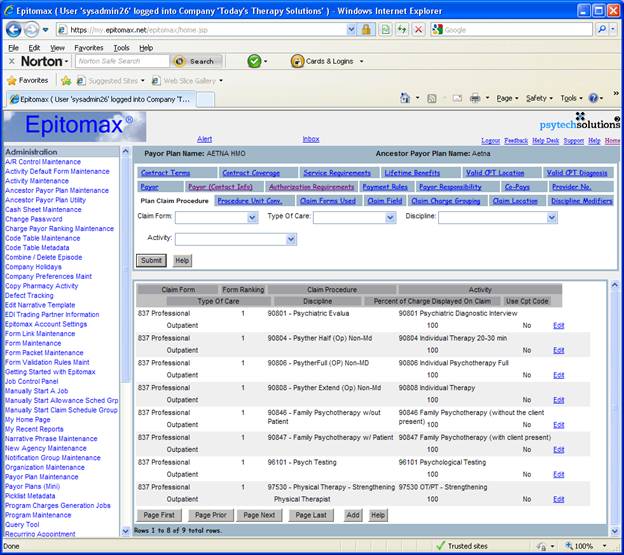
17) Go to the Plan Claim Procedure tab.
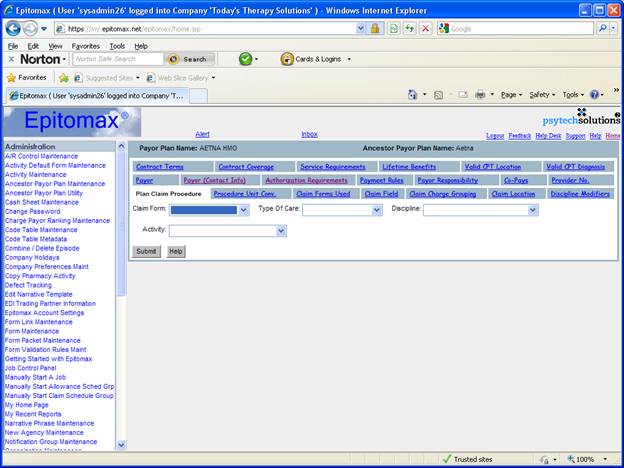
18) The initial screen is a criteria screen you can use to filter the rows contained on this tab. Click on the Submit button to see the data.
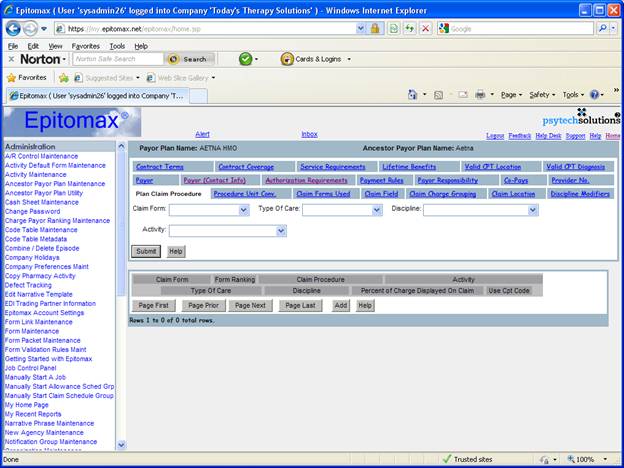
19) If there are no rows on this tab, it is best to go into Ancestor Payor Plan Maintenance to enter these rows. This tab tells Epitomax how to map your Activities to Procedure Codes for each Claim Form you use to bill this payor. Most likely, every Payor Plan you create using the Ancestor Payor Plan will require the same Activity -> Procedure Code mapping, so by putting this information on the Ancestor Payor Plan you will save yourself a lot of work!
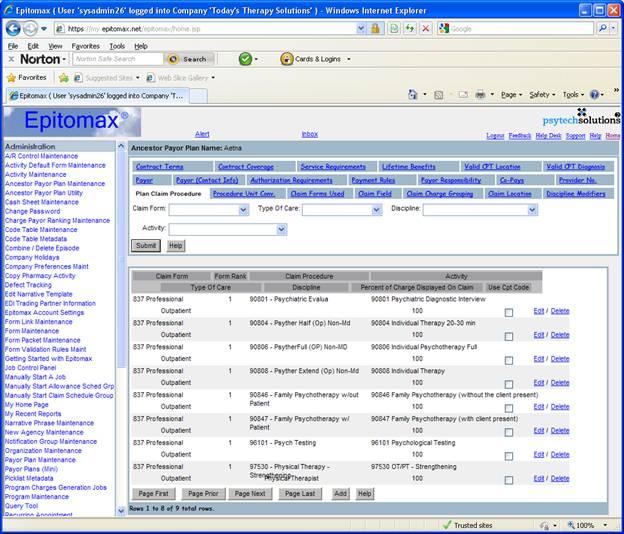
20) Now that the rows are on the Ancestor Payor Plan, they show on the Payor Plan too.
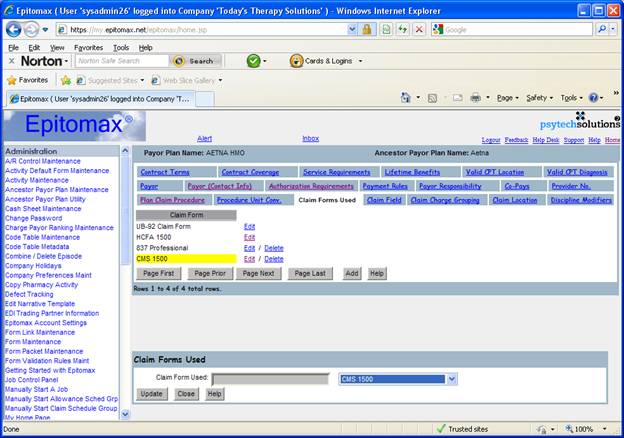
21) Go to the Claim Forms Used tab.
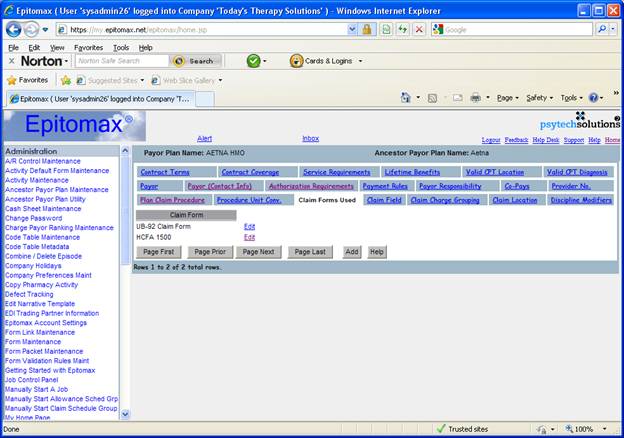
22) Add the Claim Forms you will use to bill this payor.
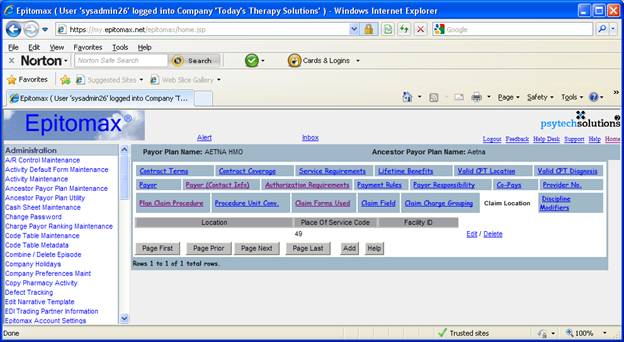
23) Go to the Claim Location tab. This is for the Place Of Service (POS) code on your claims.
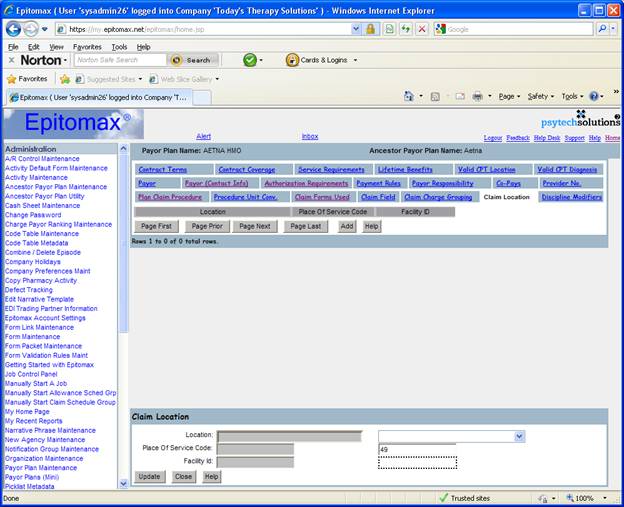
24) If all of your locations require the same Place Of Service Code, leave the Location field blank and just enter one row on this tab.