Epitomax®
Patient Portal
Version
1.0
10/18/2010
PsyTech Solutions, Inc.
Mike Kreamer

Table of Contents
Inviting
a client to use the Patient Portal
Company
Preferences for the Patient Portal
Client
Logs In to Patient Portal
Basic
Home / Provider Information Screen
Epitomax Patient Portal
Inviting a client to use the Patient Portal
Inviting a client to use the Patient Portal is as easy as 1, 2, 3.
1. Go to the Client Record for the client you want to invite
2. Make sure the client’s Email Address is in Epitomax
3. Click on the Update and Send Invite to Patient Portal button
Company Preferences for the Patient Portal
You control what your clients can do in the Patient Portal using the Company Preferences Maint screen. The bottom half of the screen is dedicated to the Patient Portal.
Client Accepts Invitation
An email like the following will go out to the client containing a link they can click to create their Patient Portal account.
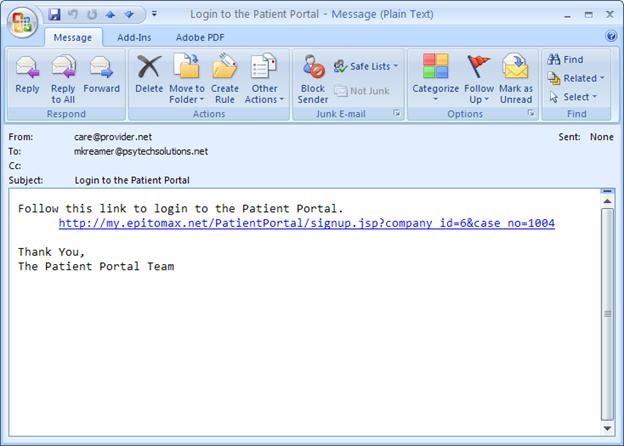
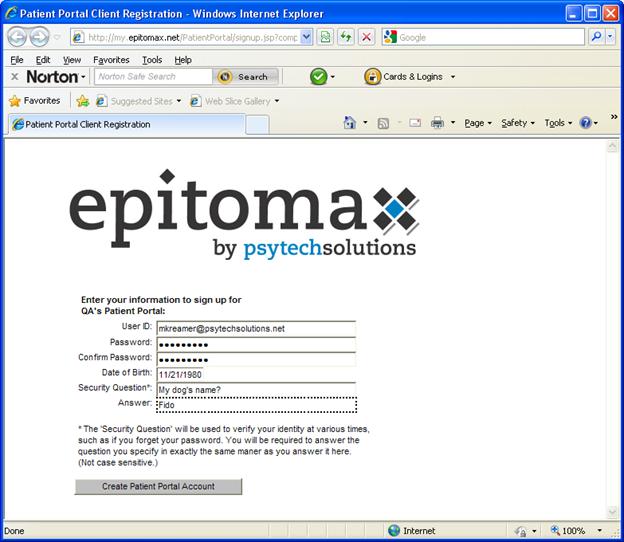
The link from the email directs the client to a screen where they must validate their identity to create their Patient Portal account.
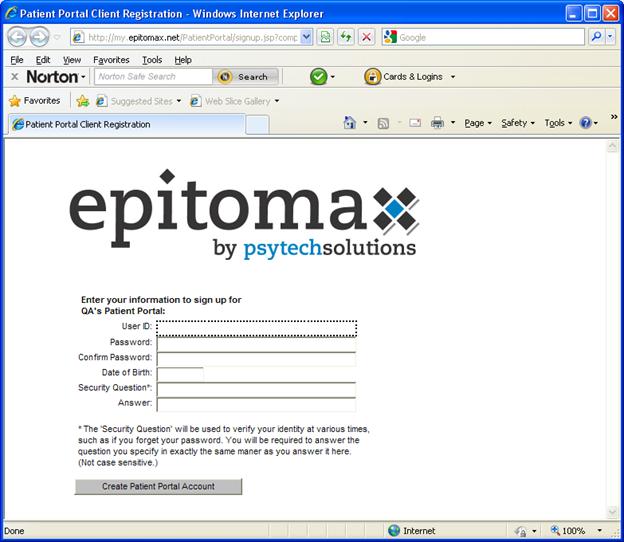
Clients must use their email address as their User ID. If they fail to do so, the system directs them to do so. They must use their correct Date Of Birth as it exists in Epitomax. The security question and answer are used in the event that the client needs to reset their password.
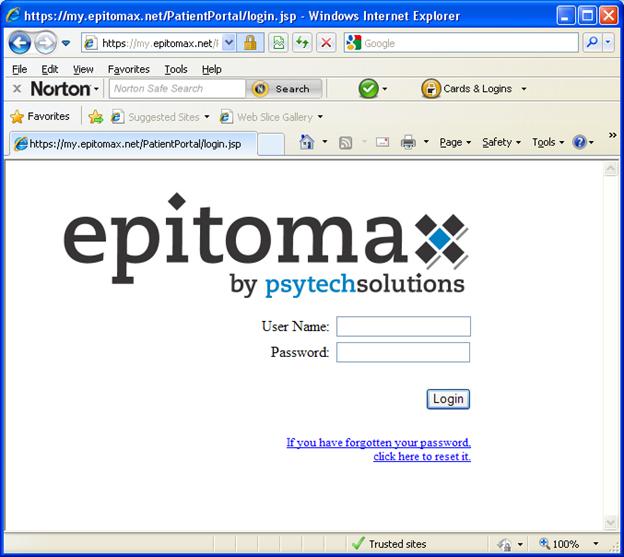
Client Logs In to Patient Portal
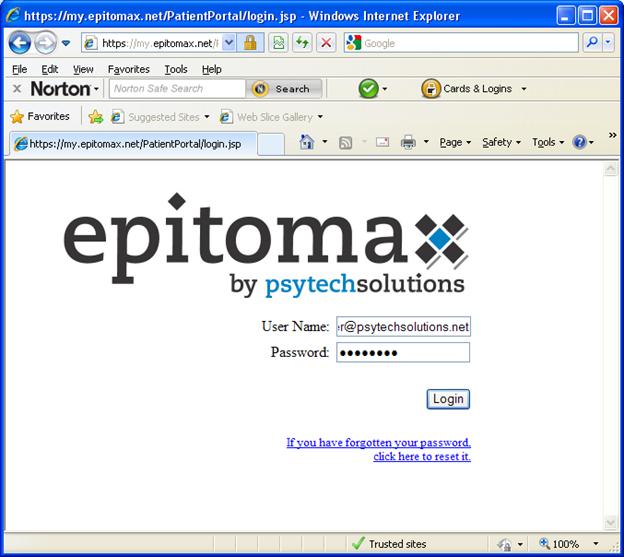
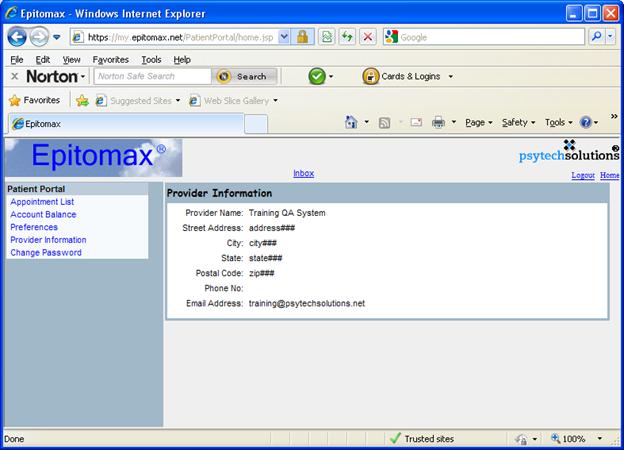
Basic Home / Provider Information Screen
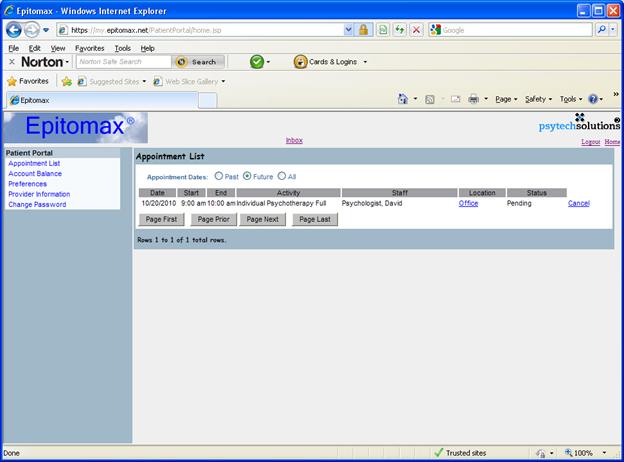
Access To Appointments
In the Appointment List screen, clients can see their Future as well as Past appointments. If the future appointments are within the configured number of hours and you allow clients to cancel appointments in Company Preferences, clients get a Cancel link where they can cancel a future appointment.
They can also click on the Location link to see your address and phone number at that location.
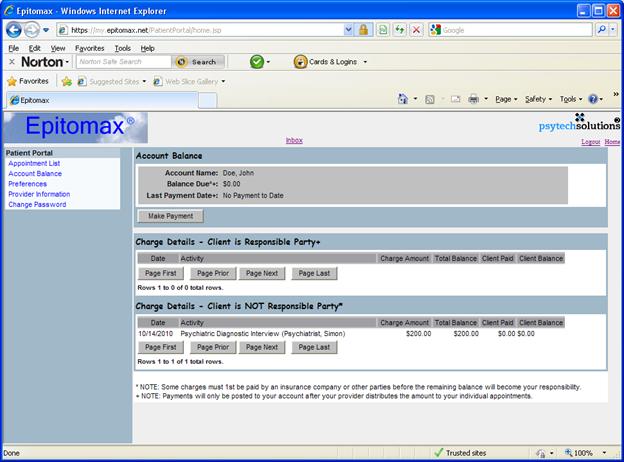
Client Account Information
Clients can view their Account Balance from the Patient Portal. If you’ve signed for a PayJunction Merchant Services Account, clients can also make credit card payments to you using the Make Payment button on the Account Balance screen.
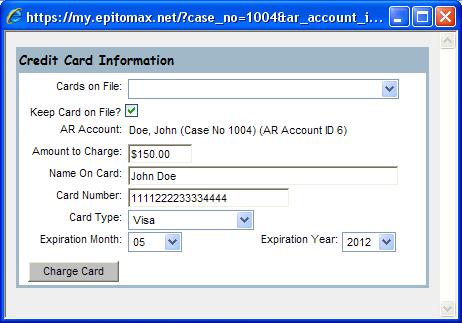
Client Can Make a Payment
Clients can securely make credit card payments from the Patient Portal, and can optionally keep their card information on file at PayJunction to be used when making future payments.
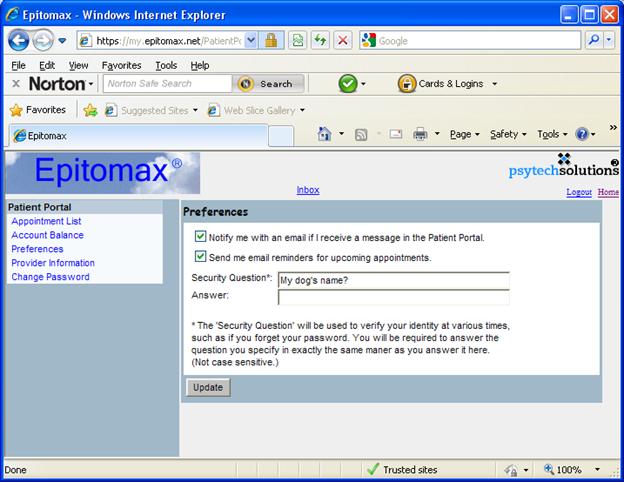
Client Preferences
The Preferences screen allows clients to configure their Patient Portal preferences and alter their Security Question.
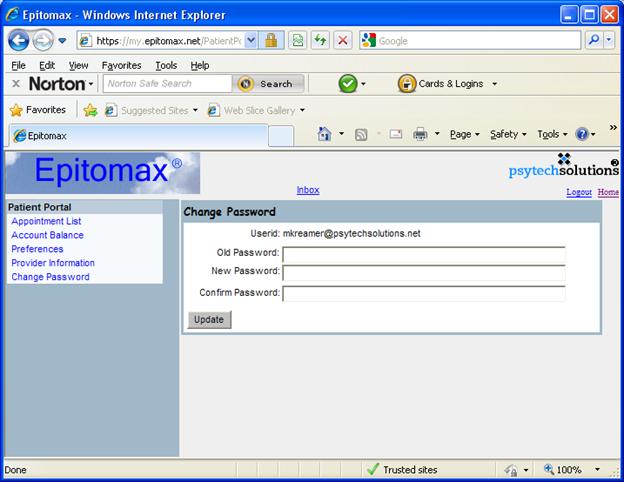
Client Change Password
Client accounts have the same password rules in the Patient Portal as staff logins have in Epitomax.
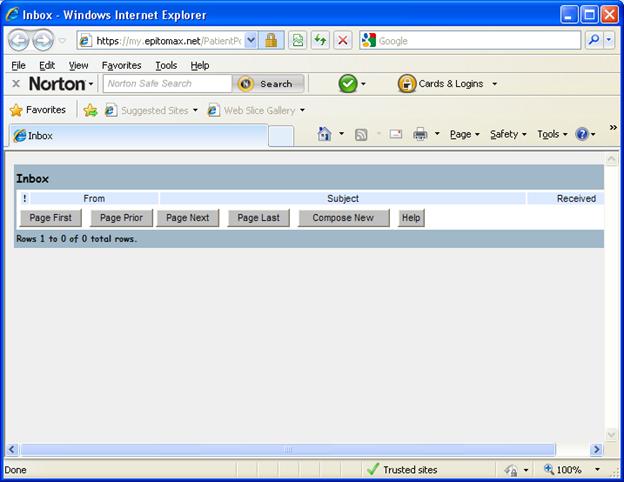
Secure Messaging
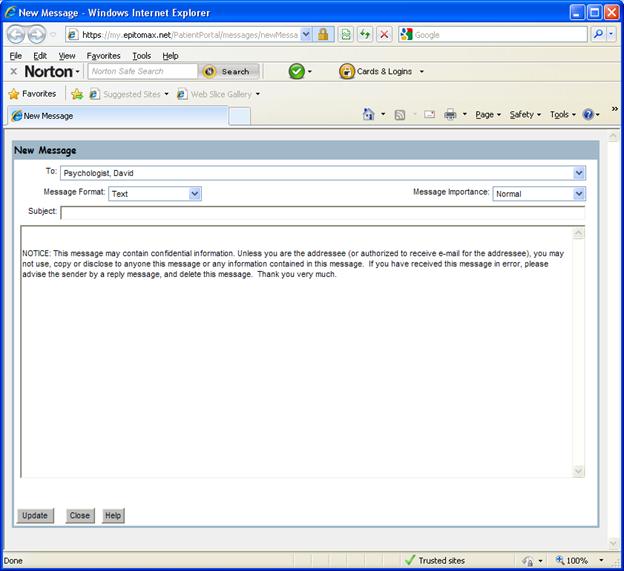
Clicking on the Inbox link at the top of the Patient Portal screen opens the following window. If staff have sent any messages to the client, they are listed in this window. Clicking on the Compose New button opens the New Message window (shown on the next page).
In the New Message screen, the To drop-down list includes all staff who are on the Internal Care Givers tab of the client’s admission in Epitomax. Messages sent to staff in this way appear in the staff’s Inbox in Epitomax. Messages are secure because they never leave Epitomax, and encryption is used when accessing both the Patient Portal and Epitomax.